
Bead Pattern Maker

See it first, then make it bead by bead

Perler BeadPattern Maker: Image to Beads

Upload an image to create a clear bead grid, matched colors, and material counts. Preview the result first, then enjoy building it one bead at a time.

Upload an image

Images stay in your browser · Start without signing up

OriginalBead pattern

No image selected

Waiting for an image

Pattern examples

Drag each example to see the original become a bead pattern.

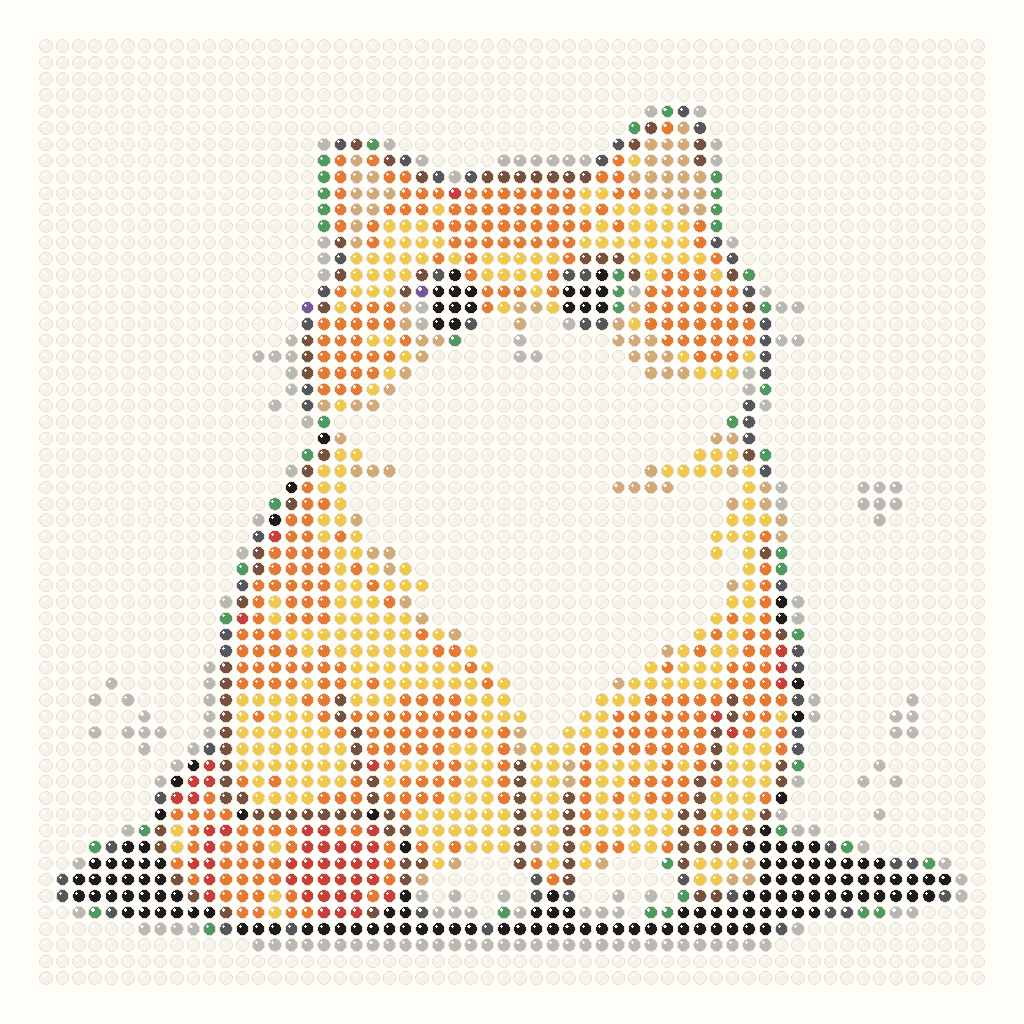
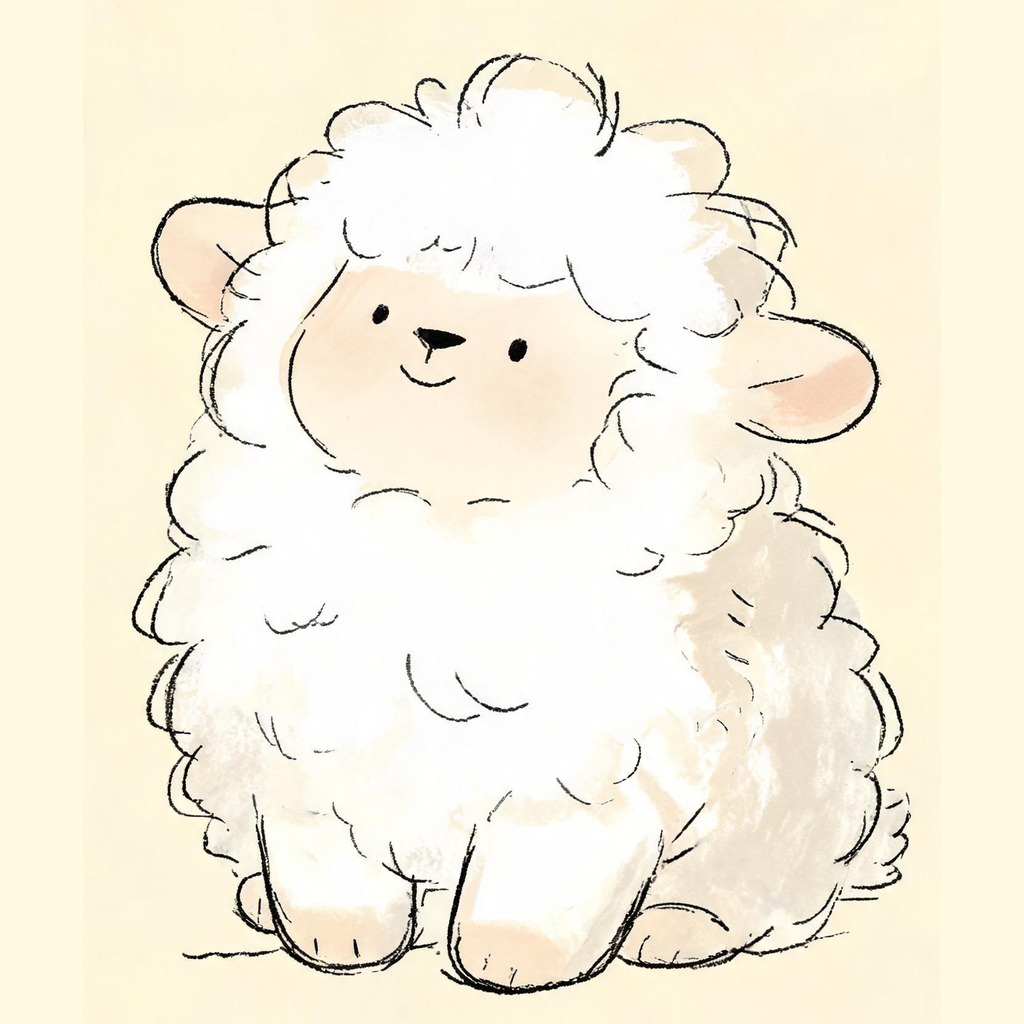
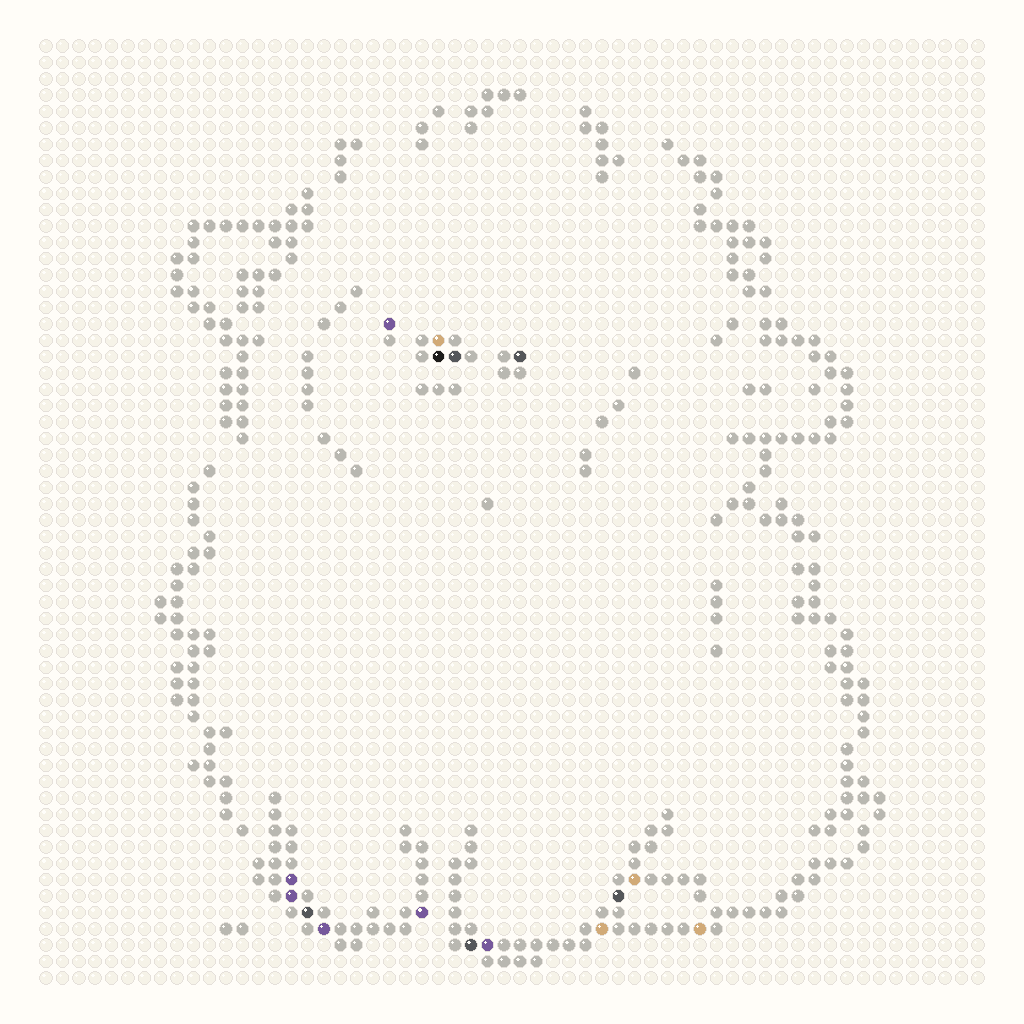
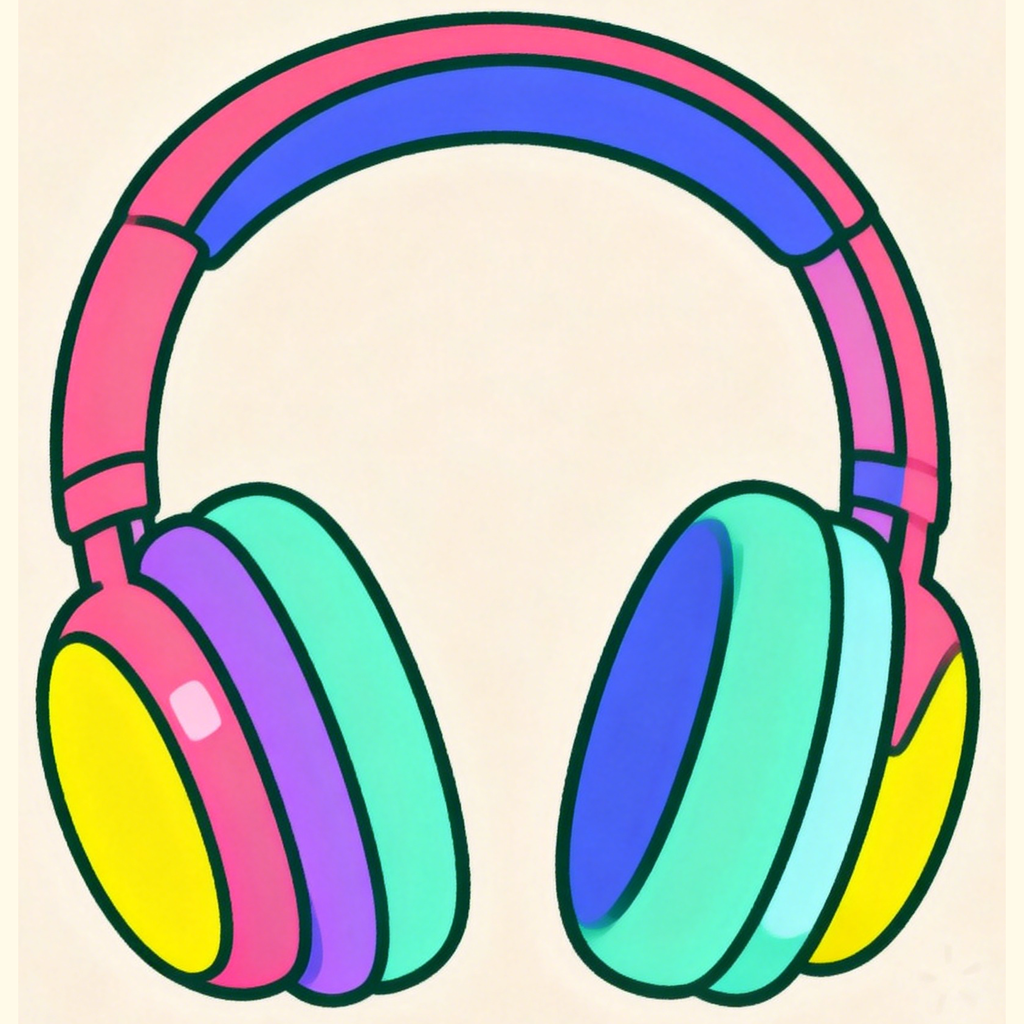
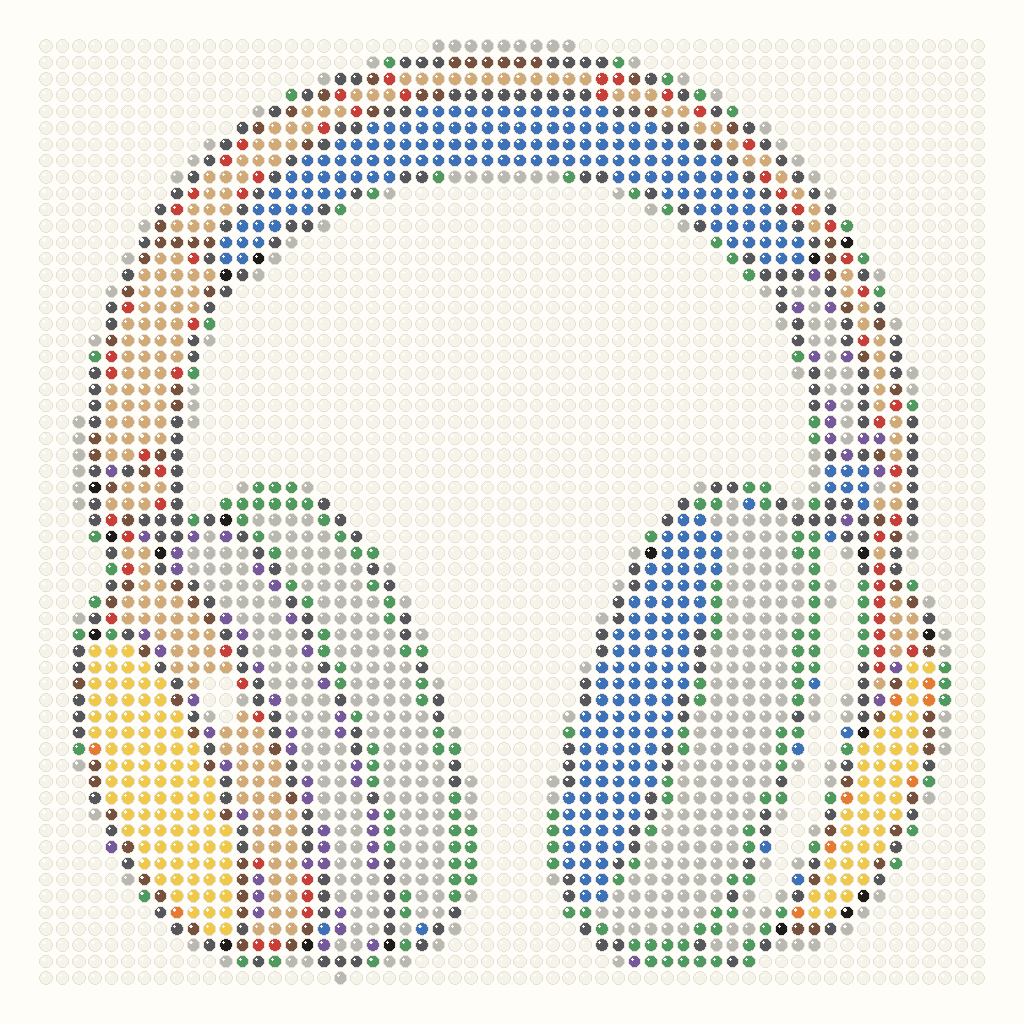
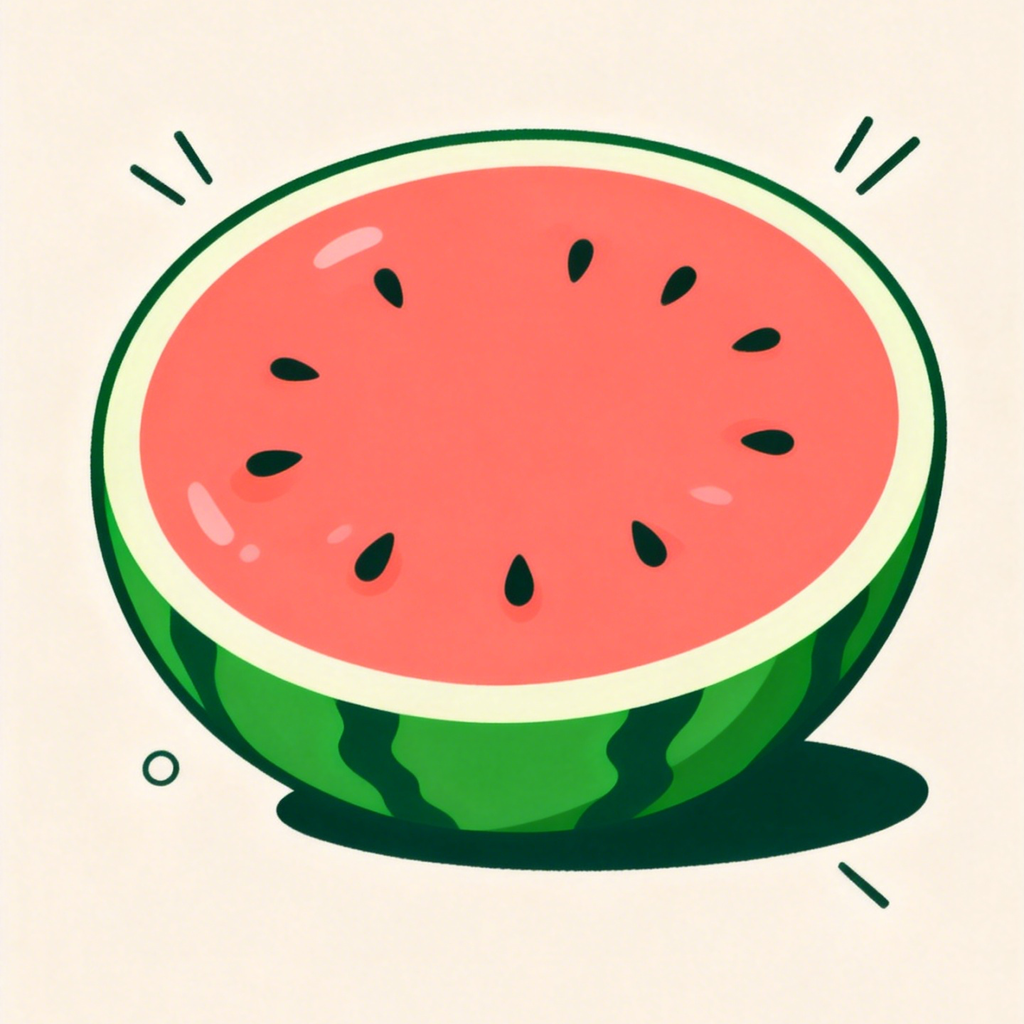
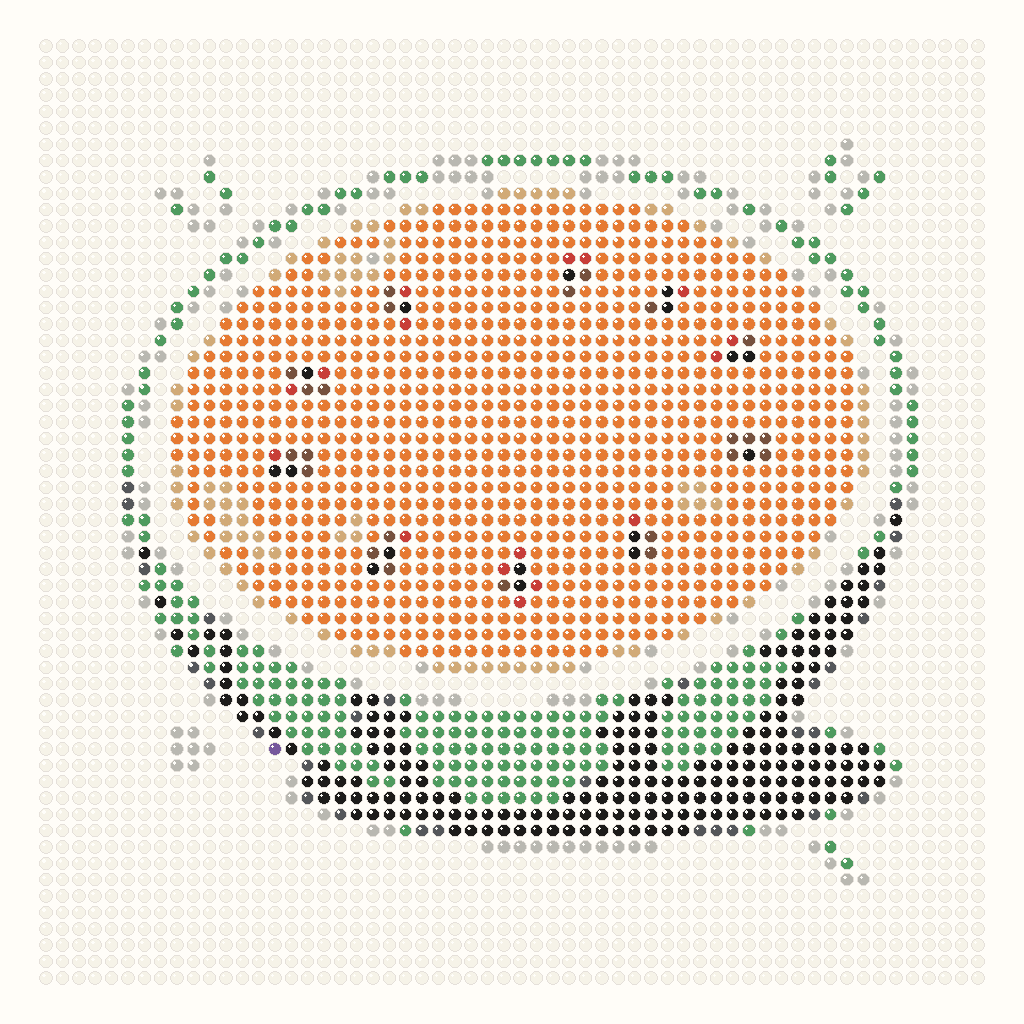
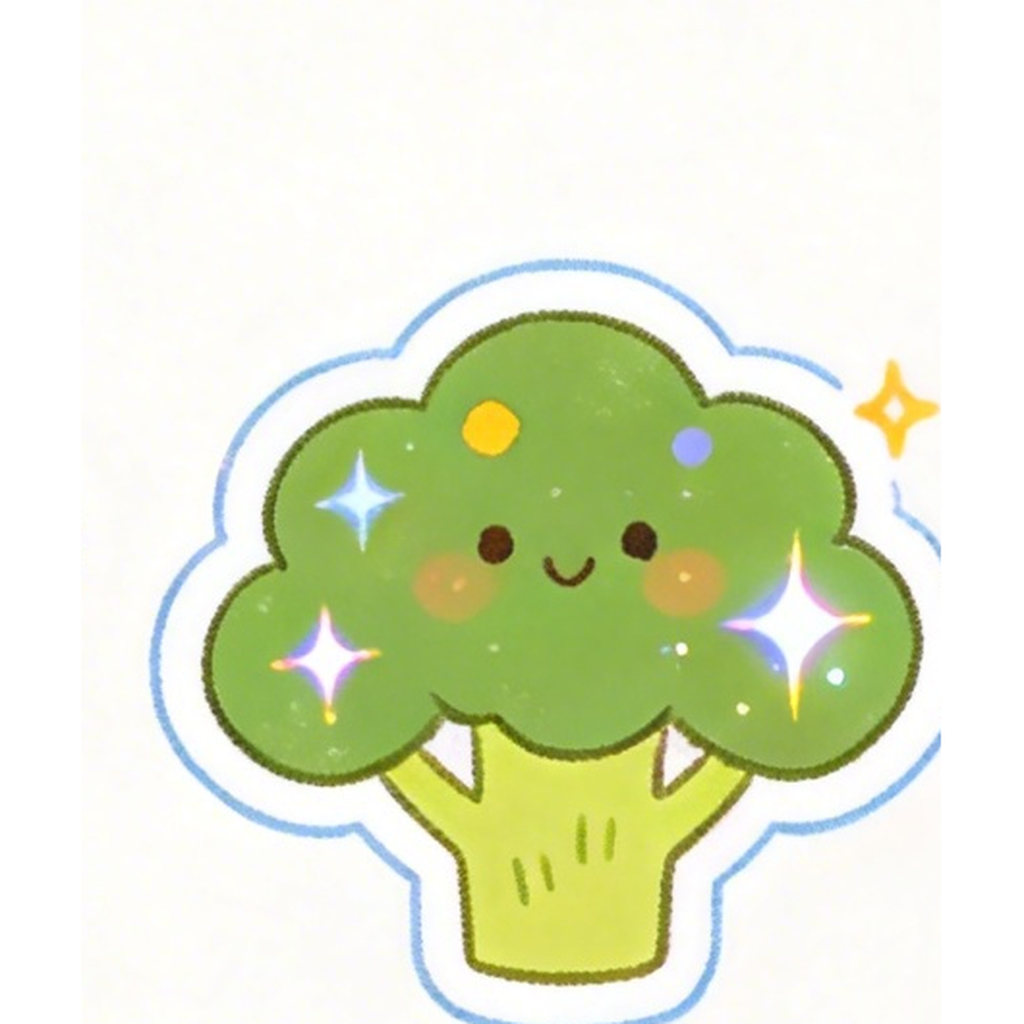
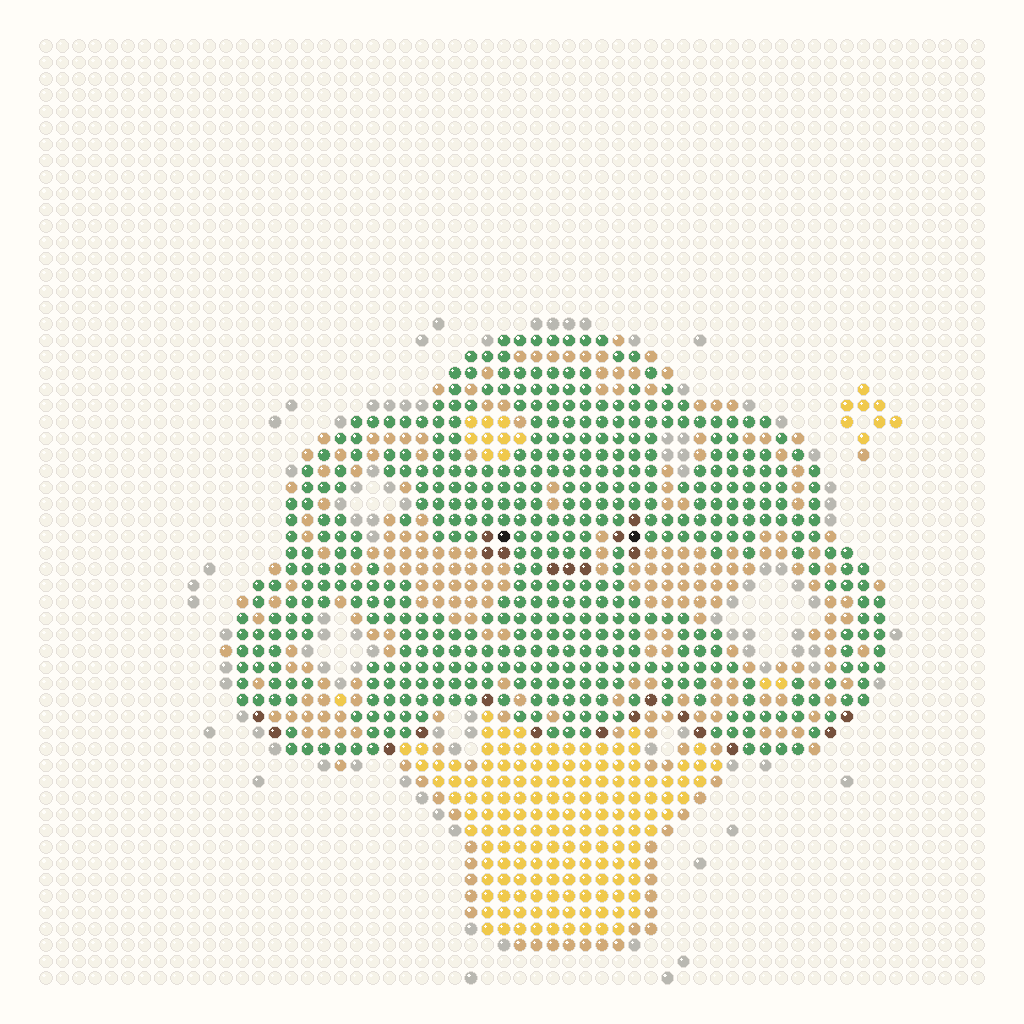
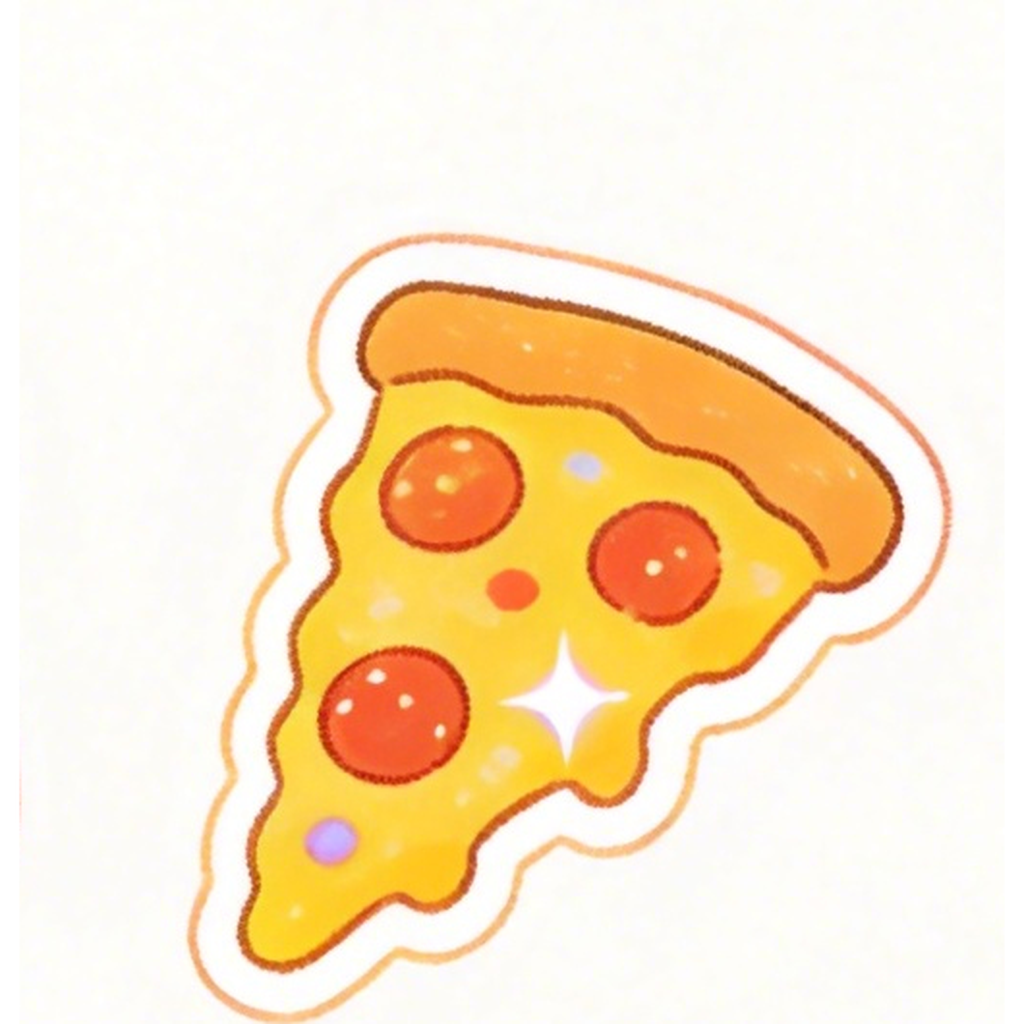
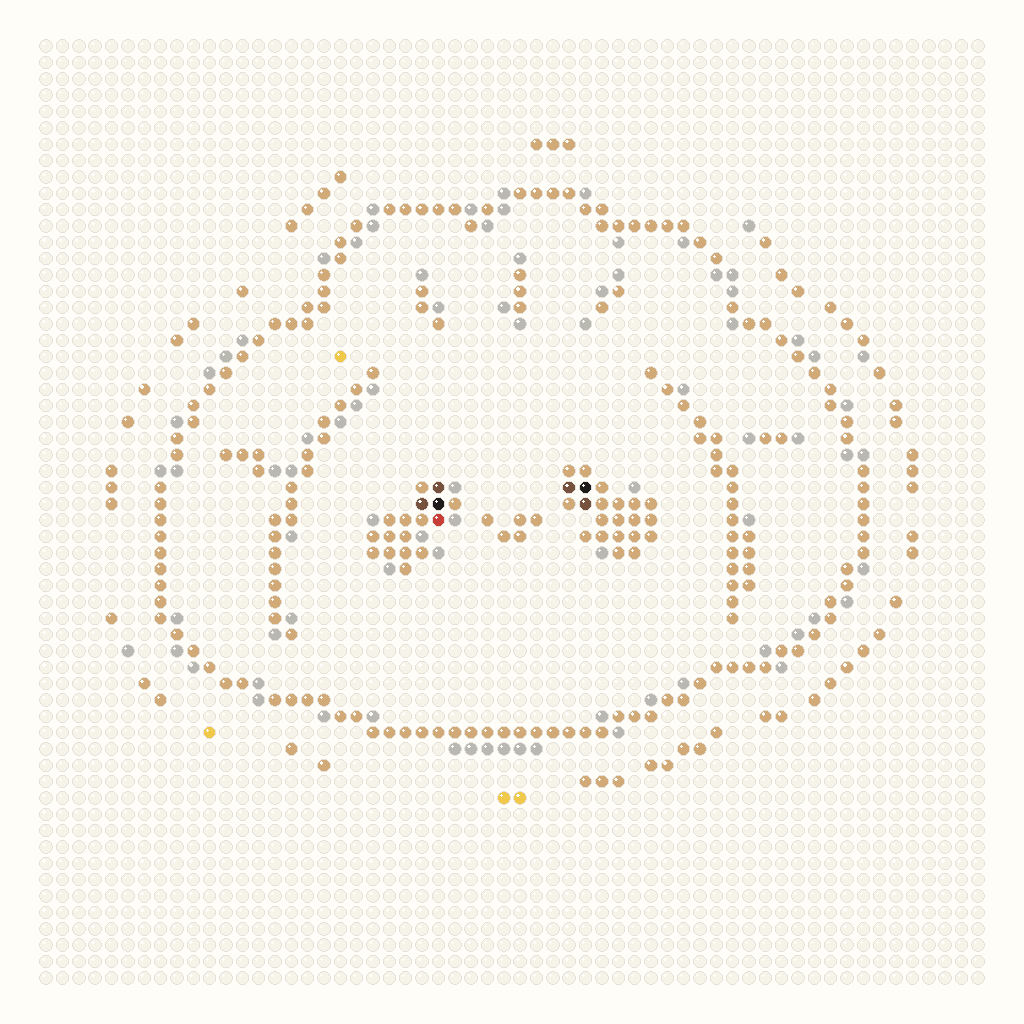
These are the 8 selected homepage examples. The left side keeps the source artwork; the right side is generated with the current 58 x 58 grid and 12-color starter palette.

OriginalBeads
Orange cat
OriginalBeads
Sheep
OriginalBeads
Headphones
OriginalBeads
Watermelon
OriginalBeads
Broccoli
OriginalBeads
Pizza
OriginalBeads
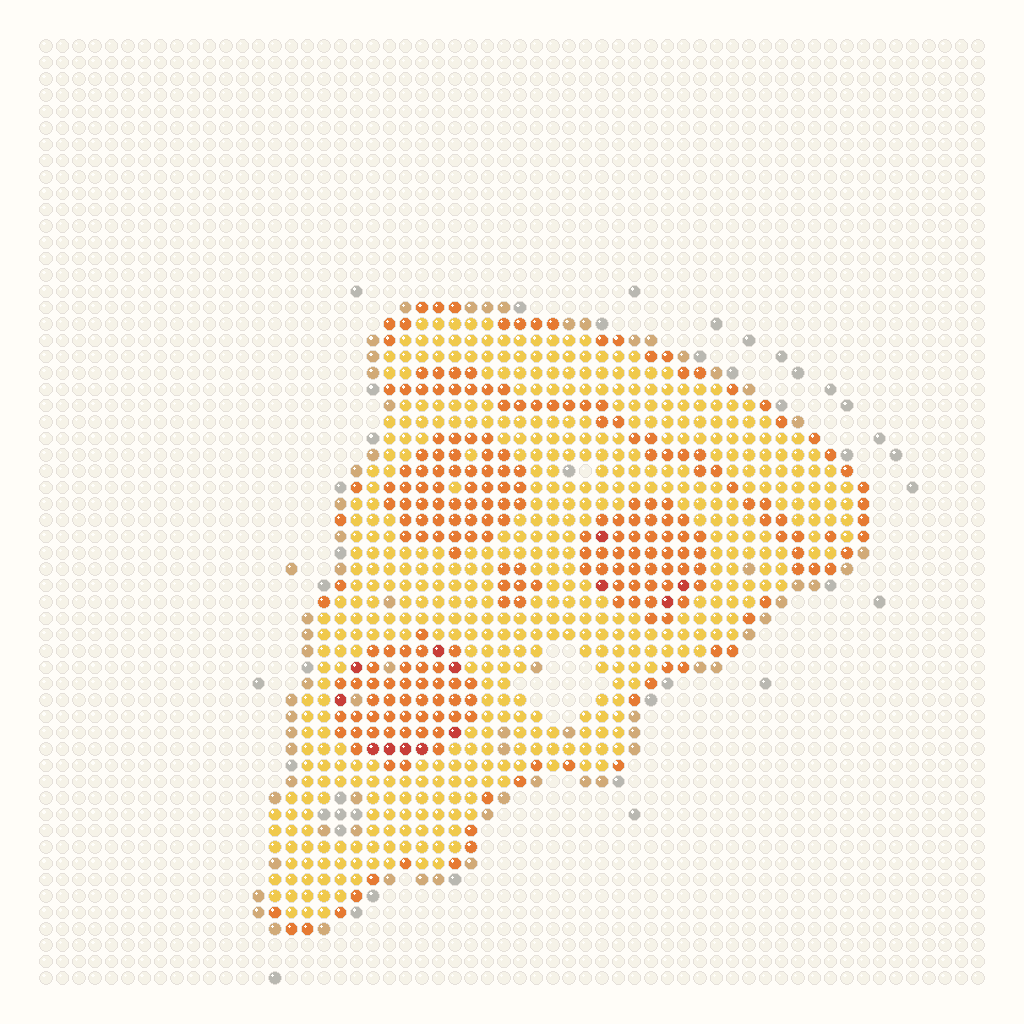
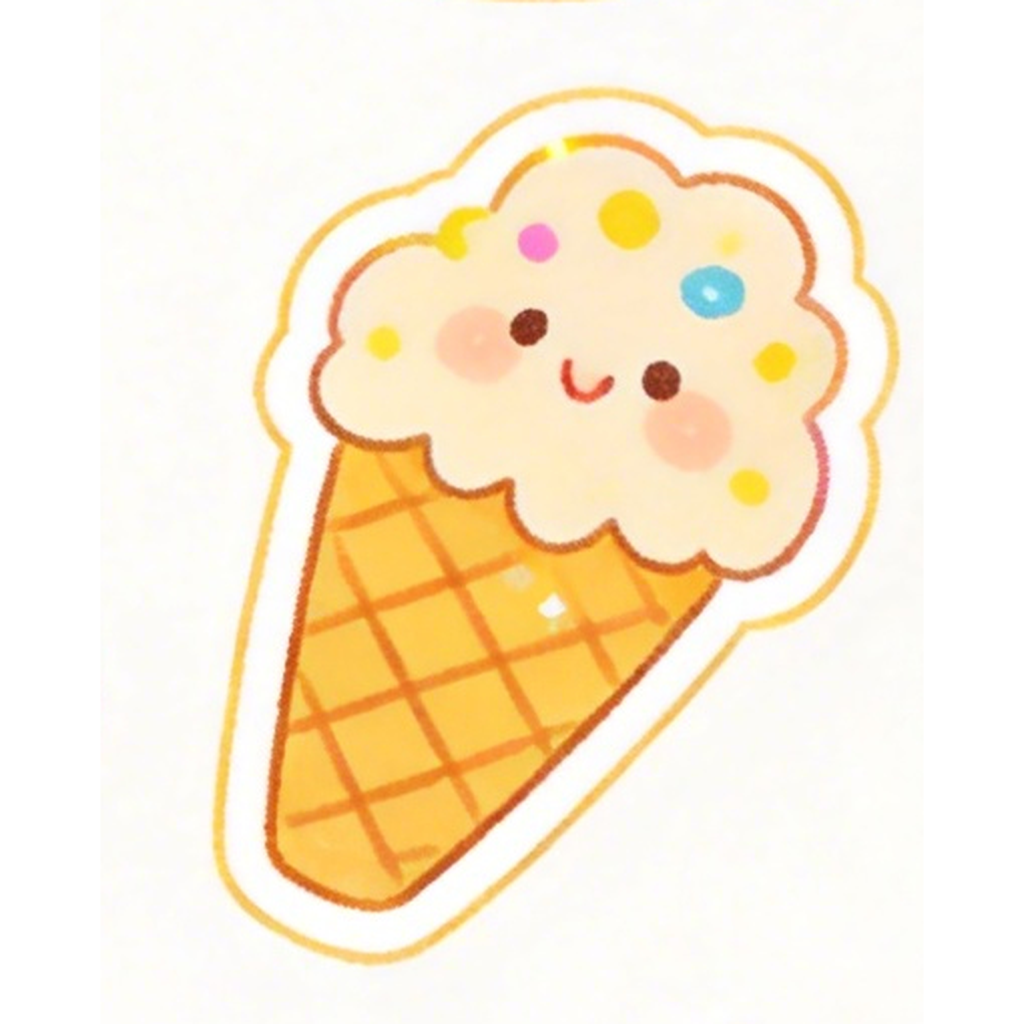
Ice cream
OriginalBeads
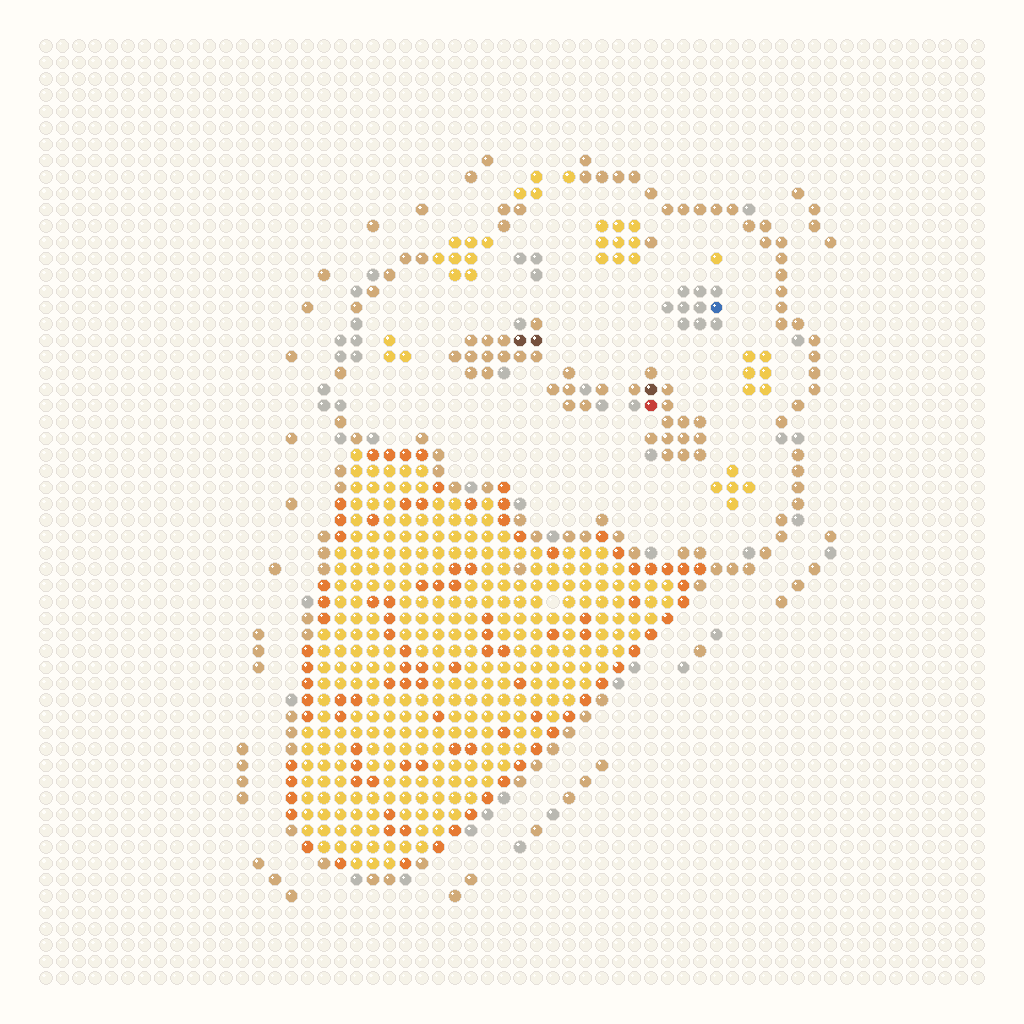
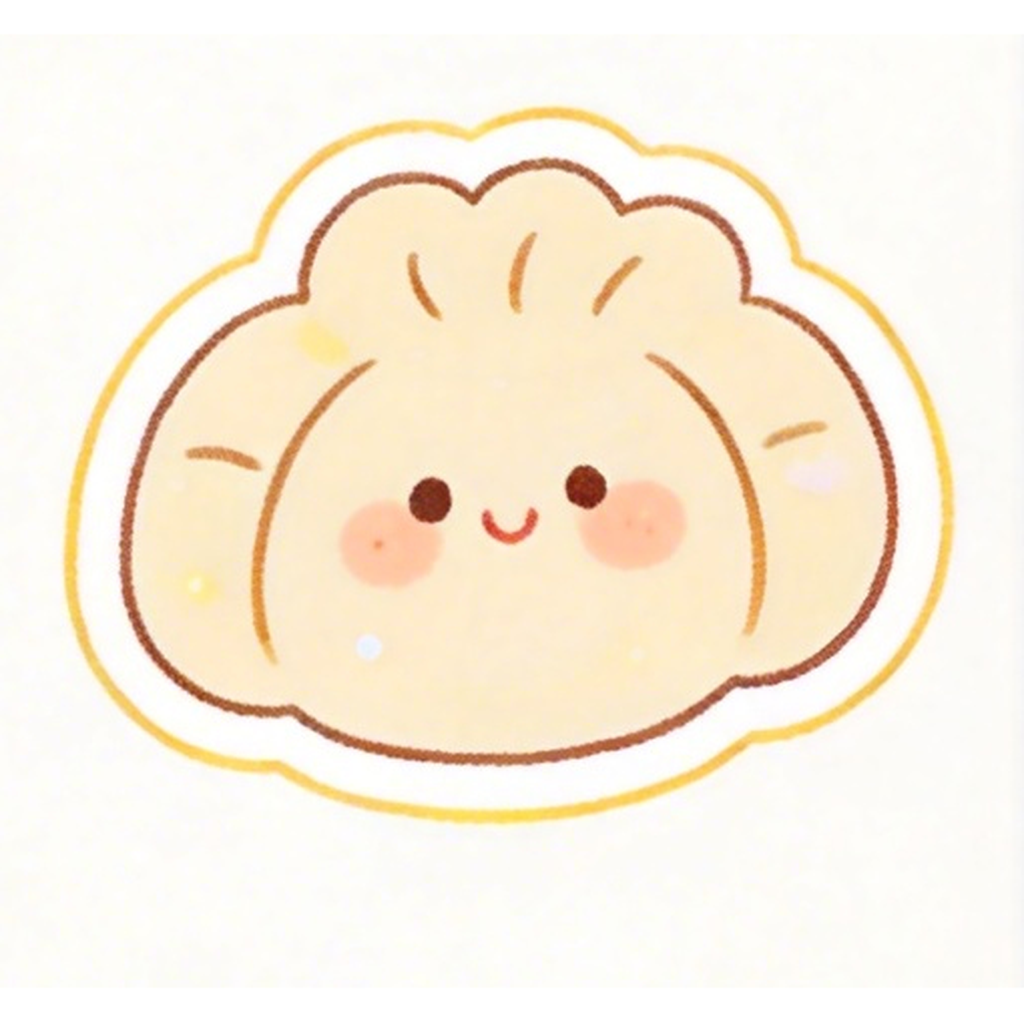
Baozi

From image to finished project

How to Use the Perler Bead Pattern Maker

The Perler bead pattern maker is designed for the complete path from a source image to a project you can build. A useful image to Perler beads result needs more than a pixelated preview: it should have a readable grid, a controlled number of colors, and material counts you can check before placing the first bead. Use the four steps below to prepare a cleaner pattern without interrupting the tool-first workflow.

01

Choose a clear source image

Start with one recognizable subject, a simple background, and visible contrast between important shapes. Cropping away empty space gives the subject more grid cells and keeps small features easier to read. For image to Perler beads conversion, illustrations, icons, pets, food, and front-facing objects usually need less cleanup than a crowded photograph with many overlapping details.

02

Set a practical grid size

A larger grid preserves more edges and facial details, but it also increases the board area and total bead count. A smaller grid is faster to finish and works well for magnets, keychains, and classroom crafts. Use the Perler bead pattern maker preview to compare the silhouette at different sizes before committing to a large project.

03

Limit colors before building

Reducing the palette makes nearby shades easier to distinguish and helps you buy only the colors the project really needs. Begin with a moderate limit, inspect the eyes, outline, highlights, and background, then add colors only when they preserve an important feature. The material list updates from the same converted grid, so every visible color has a matching count.

04

Review counts and export

Check the full grid, color legend, and bead totals before you start placing beads. Look for isolated single cells, unclear boundaries, or colors that are too similar to tell apart. When the result is easy to follow, export the materials data and keep the preview open as a reference while you build row by row.

Examples and outputs

What the Perler Bead Pattern Maker Gives You

The homepage tool keeps the practical work together: convert the image, inspect a buildable bead grid, confirm the palette, check the quantity required for each color, and export a materials list before starting the physical project.

Buildable grid preview

Preview the converted bead grid before you start making the project, with each cell tied to a stable color entry.

Material counts

See how many beads each color needs so you can plan a wall piece, gift, keychain, classroom craft, or decor project.

Materials you can save

Download a UTF-8 CSV materials list that opens cleanly in spreadsheet tools. The same pattern data keeps the preview, color totals, and exported quantities consistent.

Reviewed pattern examples

Explore the free pattern library when you want a ready-made project. Each published example includes the source artwork, converted grid, dimensions, color count, and downloadable files.

How it works

How image to Perler beads conversion works.

The converter samples your image into a grid, matches each sampled color to the selected bead palette, and generates the preview and material list from one consistent conversion. This keeps an image to Perler beads result understandable from the screen to the finished project.

Sample to grid

The image is drawn into a bounded canvas at the target row and column count, then each cell is sampled once.

Map to palette

Each sampled color is matched to the selected bead palette and stored by stable color ID, not by UI array position.

Keep the result predictable

The same settings produce a consistent grid you can inspect before exporting. Adjust the source crop, grid size, or color limit when important details are unclear.

Keep preview and totals aligned

The preview, color statistics, and CSV materials list all use the same converted grid, so the quantities stay aligned with the pattern you see.

Questions

Questions About Making Perler Bead Patterns

Practical answers about images, grid sizes, colors, privacy, exports, and using the finished pattern.

Try the Perler Bead Pattern Maker with One Image

Choose a photo or simple illustration, compare the bead grid, confirm the colors and quantities, then save the materials list for your next project.